Fields Configuration

Wealty is a powerful Real Estate WordPress theme that adapts to your needs. With a stunning design and easy-to-use features, you can quickly take your business to the next level without any coding knowledge.

Please check our FAQ, most probably there is already an answer to your question. If you didn’t find what you need, please contact us at support@codefactory47.com

Wealty theme has a great tool that provides you possibility to add new fields from WordPress dashboard. The best thing is that each created field is searchable.

To find fields settings open WordPress dashboard and go Wealty Fields. Here you can control what fields are used for Property, Agent, Member, Agency.

Field types

Wealty theme provide a big choice of field types you may ever need:

Below you can find them all with a short description about each field type and screenshots from Wealty Fields and "Add New Property page" in the dashboard.

Text

Simple text input.

Text Area

Text input to add long text.

Rich Text

Advanced text input (or WYSIWYG editor) that provides tools for formatting the text, adding media, etc.

This field type could be used for adding shortcodes from a 3rd party plugin (for example Contact Form 7 or any other). You'll need in this field's shortcode settings in "Content" tab enable option "Display as HTML " to display your custom shortcode's content.

Taxonomy

Create new taxonomy - group items together based on a select number of relationships. For example "Contract Type" is a taxonomy. The most simple explanation could be found here: Taxonomy.

Map

Used to display property location on the map. Nothing new here :)

Number

Field that accepts only numbers (integer and non-integer as well). Could be used for such field as "Bedrooms", "Bathrooms", etc..

Number field type could be a range field. Just mark "Is range? " checkbox. This is an universal solution, because range field could be used as range and simple field at the same time. If you set both "from" and "to" numbers - it will show the range you added. If you set only "from" value, then it will display a single number there.

Price

Price field type should be used for adding prices.

It comes with currency dropdown so you can select currency when adding the property.

Price field type could be a range field as well. Just mark "Is range? " checkbox. This is an universal solution, because range field could be used as range and simple field at the same time. If you set both "from" and "to" numbers - it will show the range you added. If you set only "from" value, then it will display a single number there.

Area

Current field type should be used for adding area or lot sizes.

It comes with area units dropdown so you can select units when adding the property.

Area field type could be a range field as well. Just mark "Is range? " checkbox. This is an universal solution, because range field could be used as range and simple field at the same time. If you set both "from" and "to" numbers - it will show the range you added. If you set only "from" value, then it will display a single number there.

Video

Video uploader tool. Could be used for YouTube and Vimeo videos. Also provides option to upload own videos as well.

Media

Media file uploader. Generally is used for creating and uploading image galleries.

Attachments

Pretty same as Media field type, but how you noticed from "Attachments" title is used for uploading different attachments like documents (PDF, Word files, etc.).

Floor Plan

Fits perfectly for displaying information about properties on different levels in the building with option to add text and upload images.

In the page this field is displayed in compact view by default and on click could be expanded for more details.

Reviews

That's the field you need to add review option on your website. Add different items or things that could be reviewed (rated) and gropu them depending on your needs.

In review submit form you can add as many review items as you need.

Overlay

A simple dropdown that shows you list of all available overlays (Interactive SVG map, hero section floors plan, etc.)

Dynamic Name-Value

This field type provides option to multiple dynamic entries for different purposes.

Base setup

Step 1: Creating new field

After accessing "Field config" section dashboard, in the top are tabs (Property, Agent, Agency and Member). Each tab shows us list of existing fields for page.

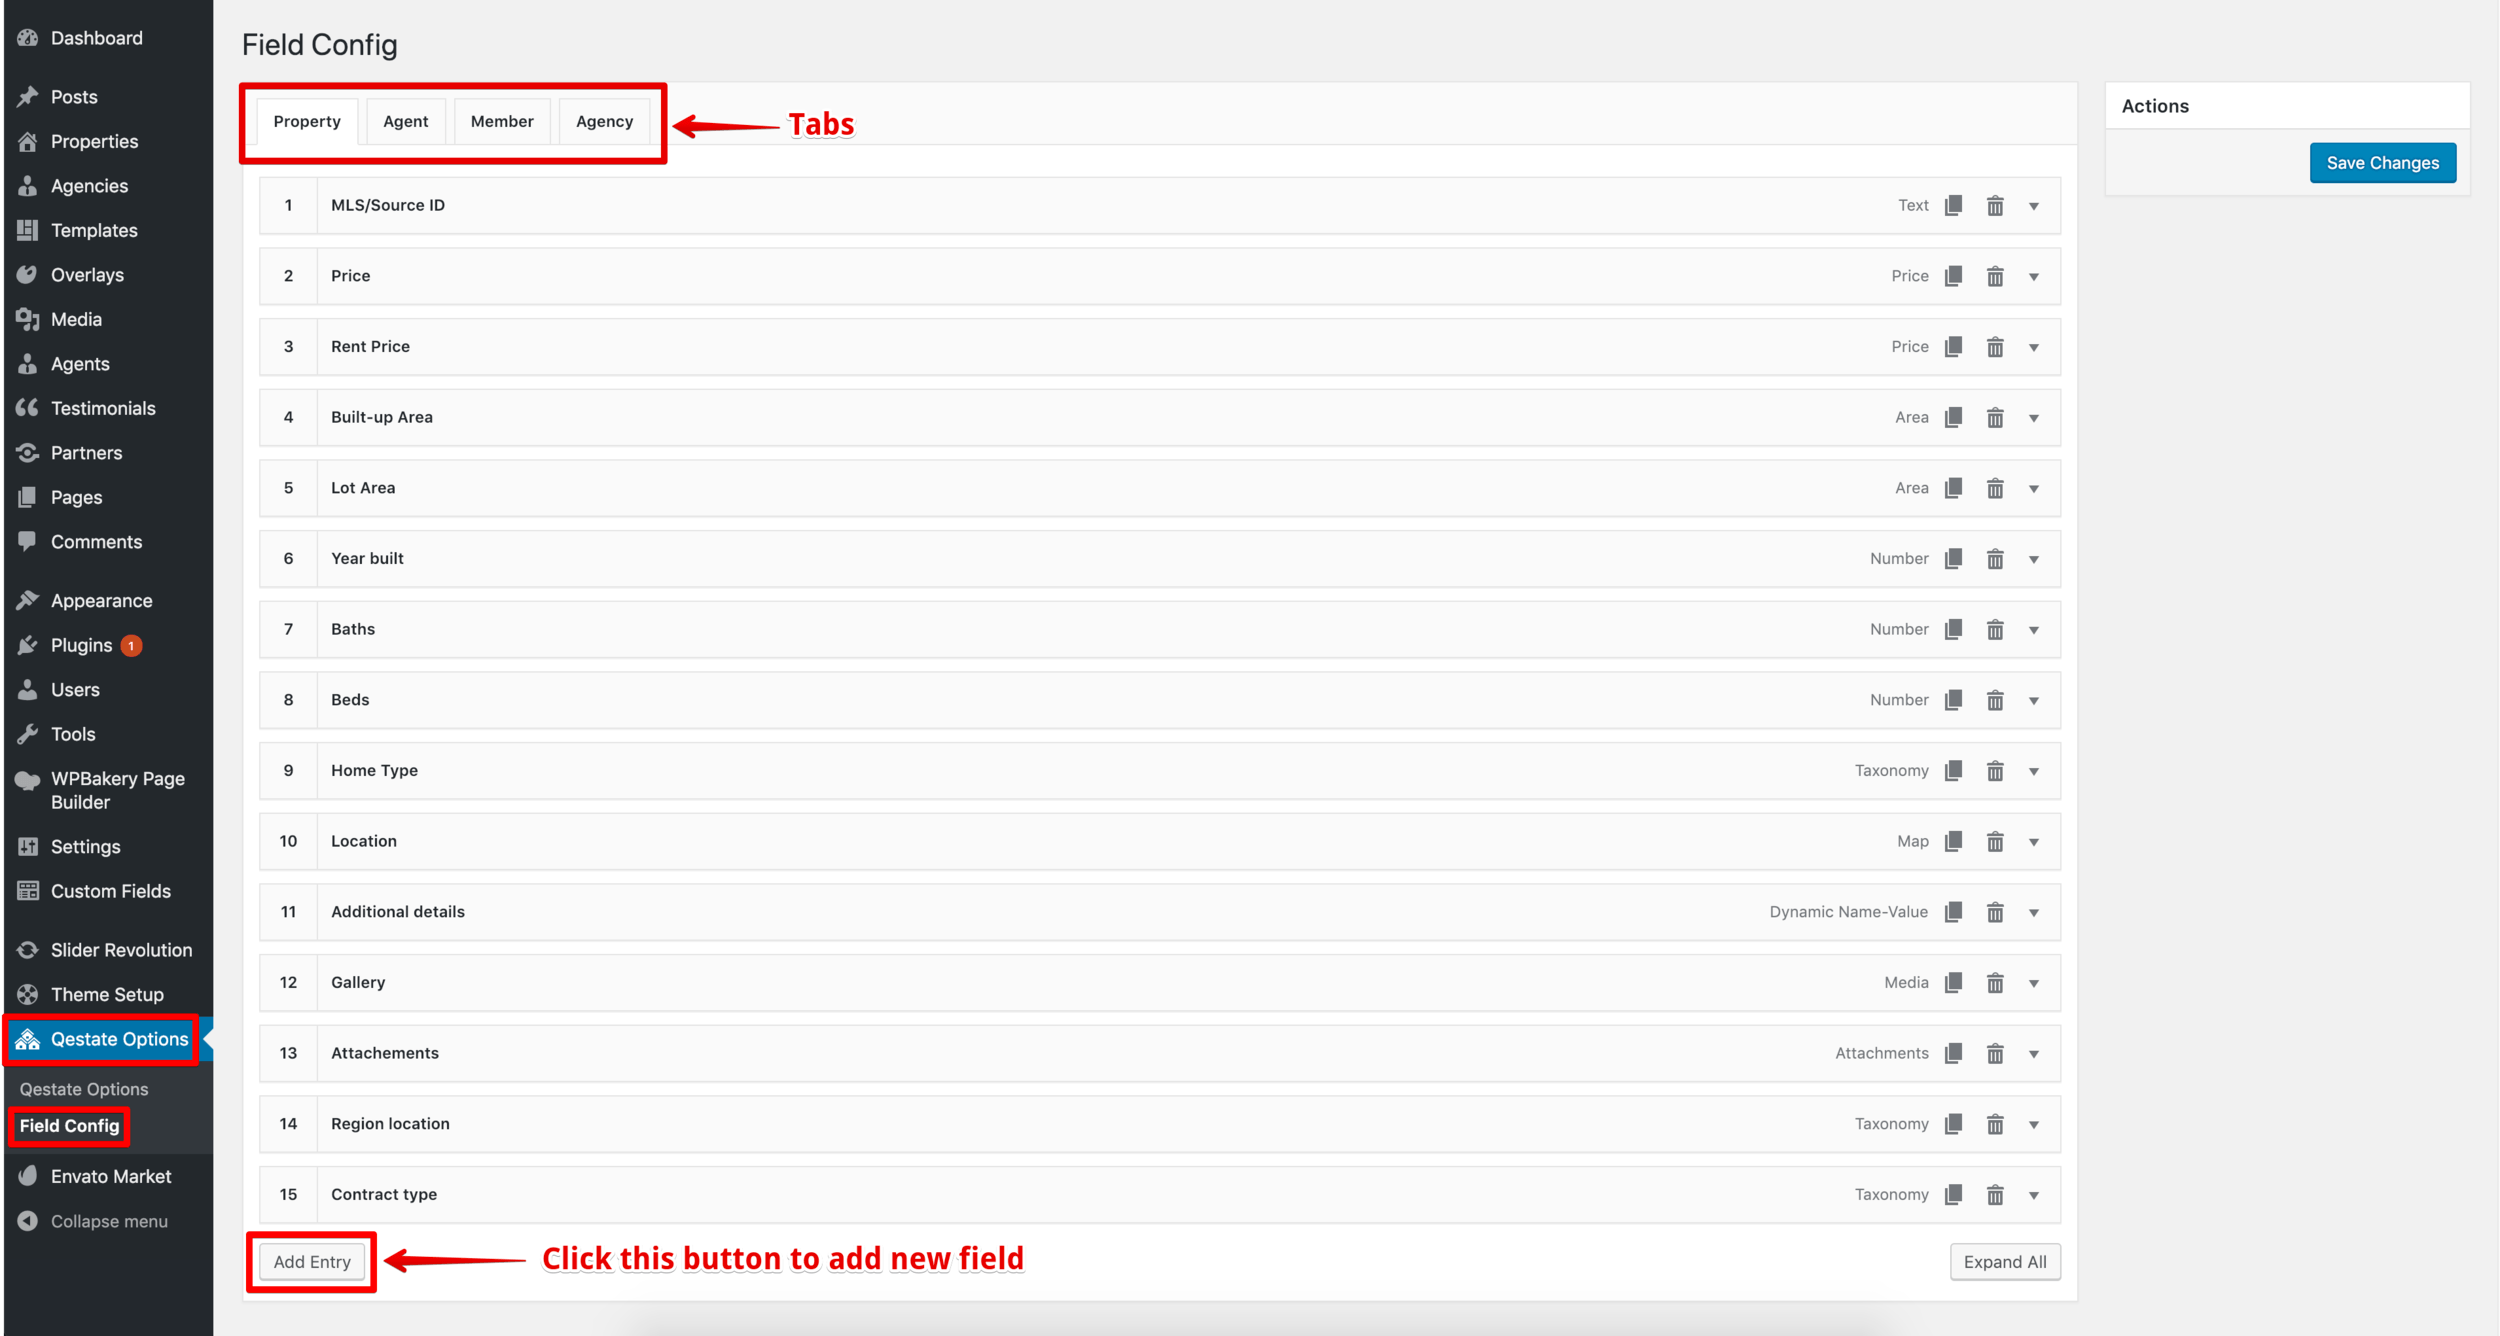
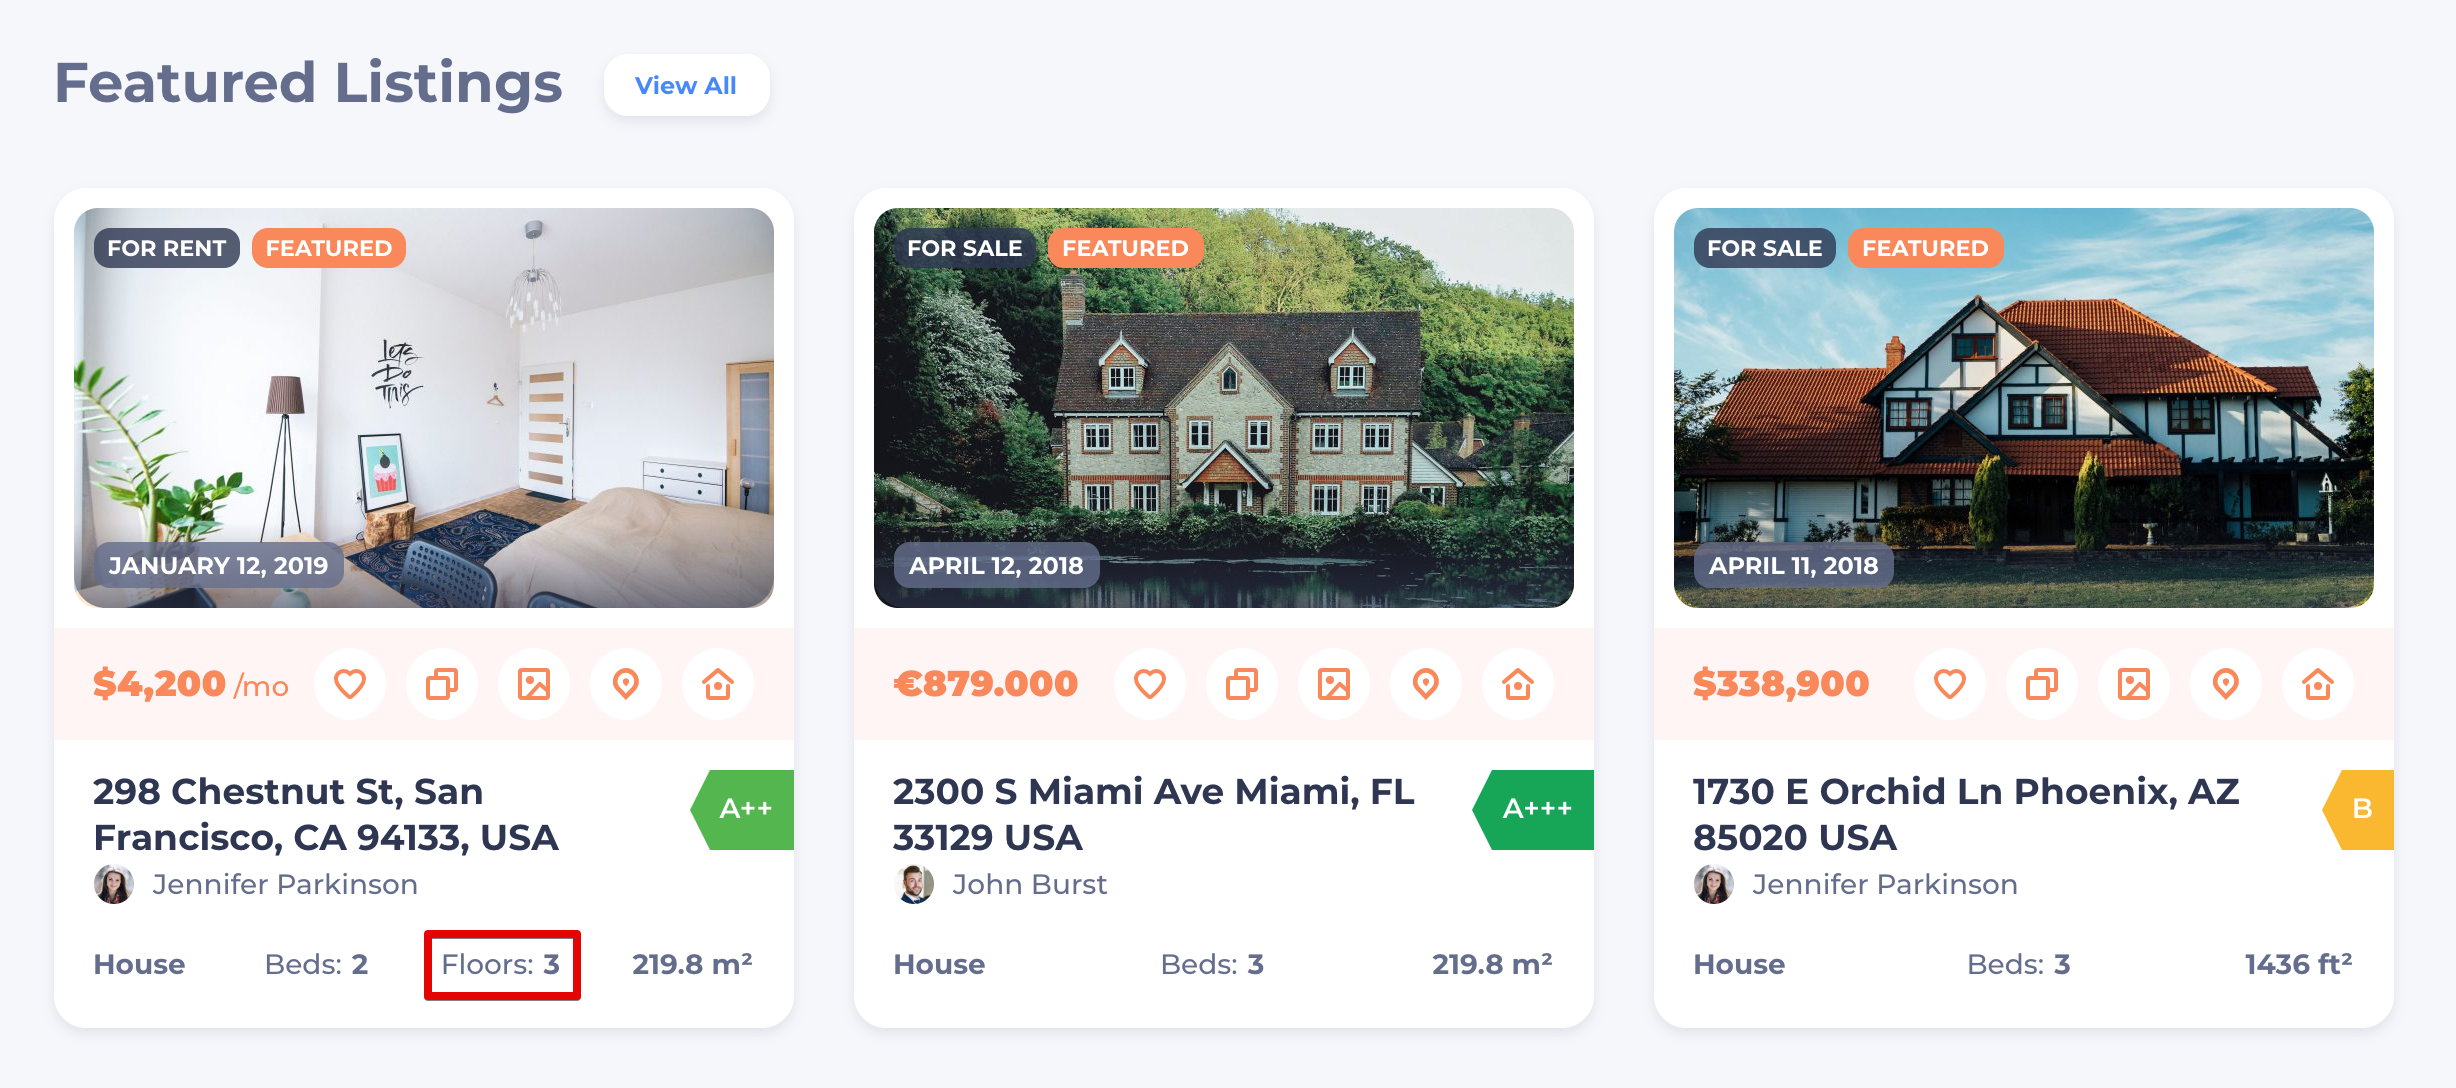
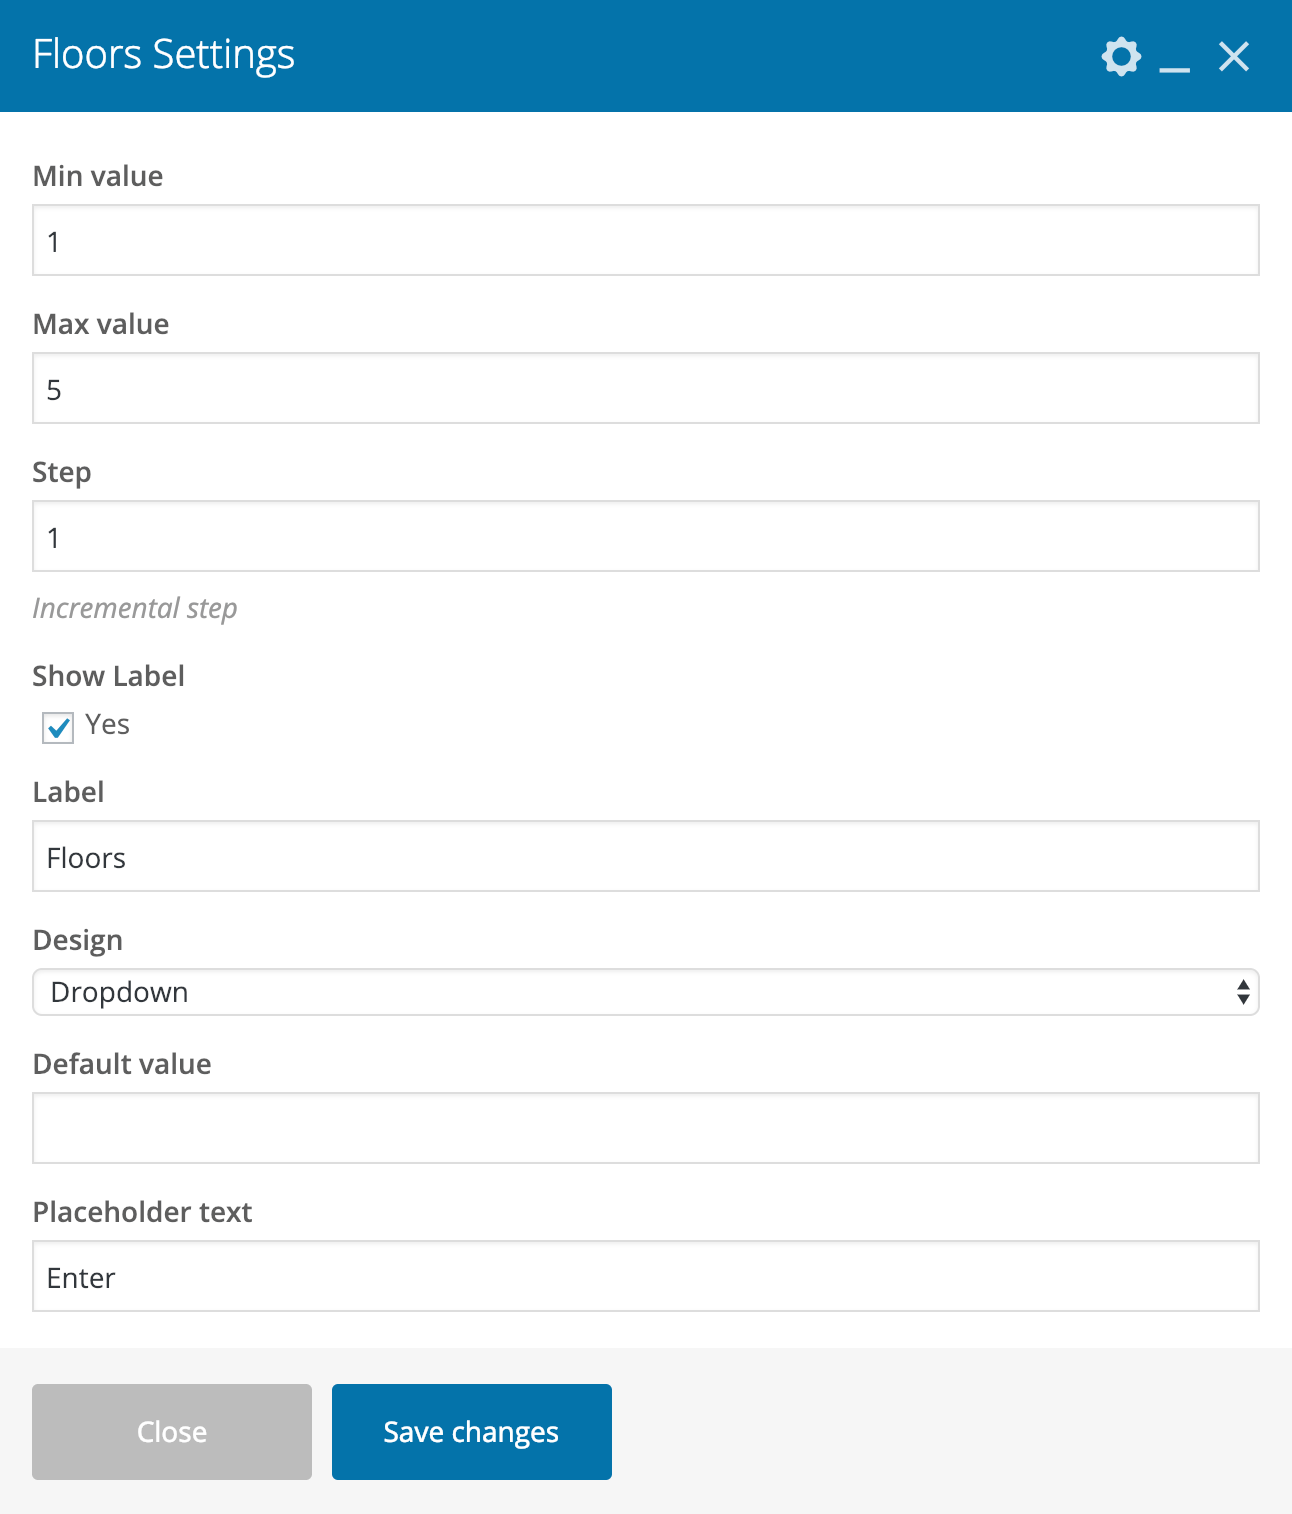
To provide a better understanding how it works, we'll create new field "Floors" for property details page.

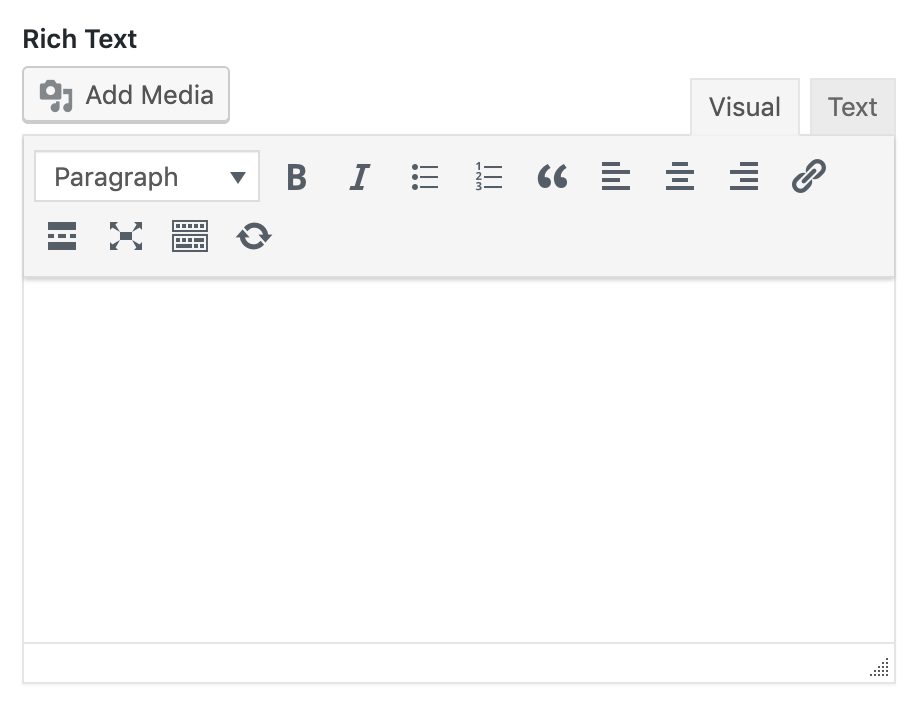
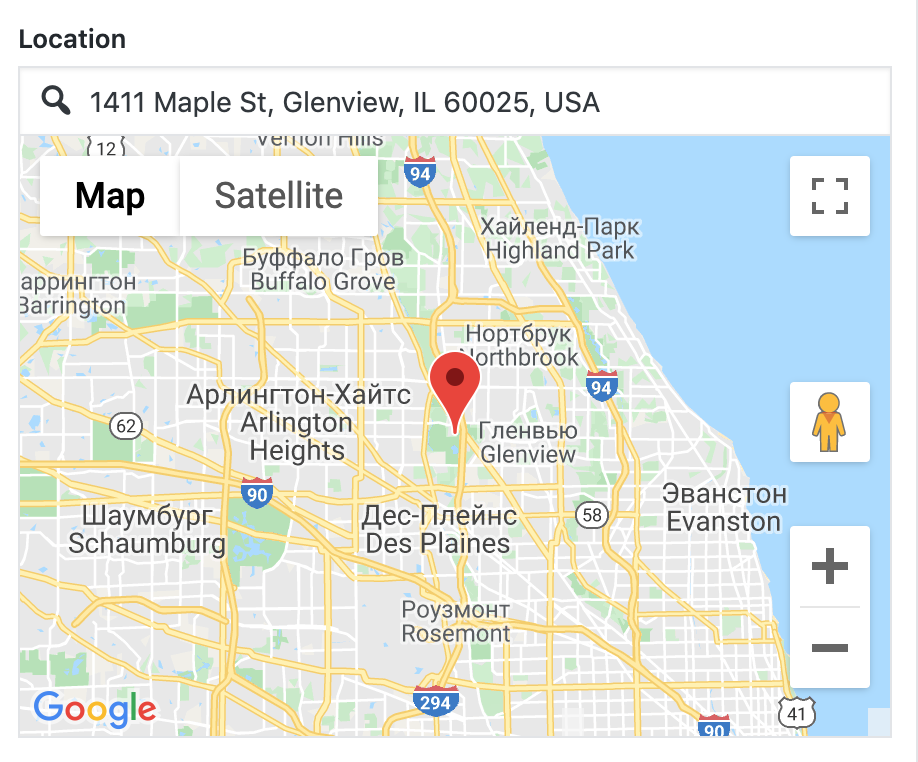
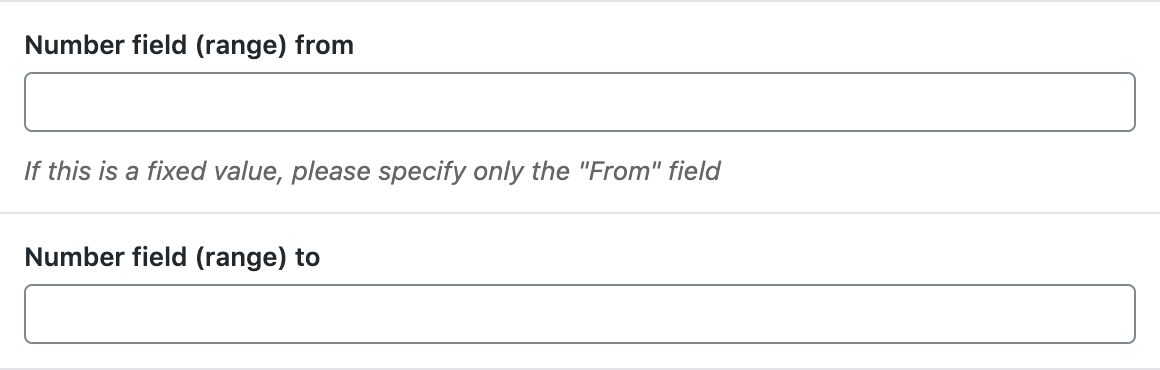
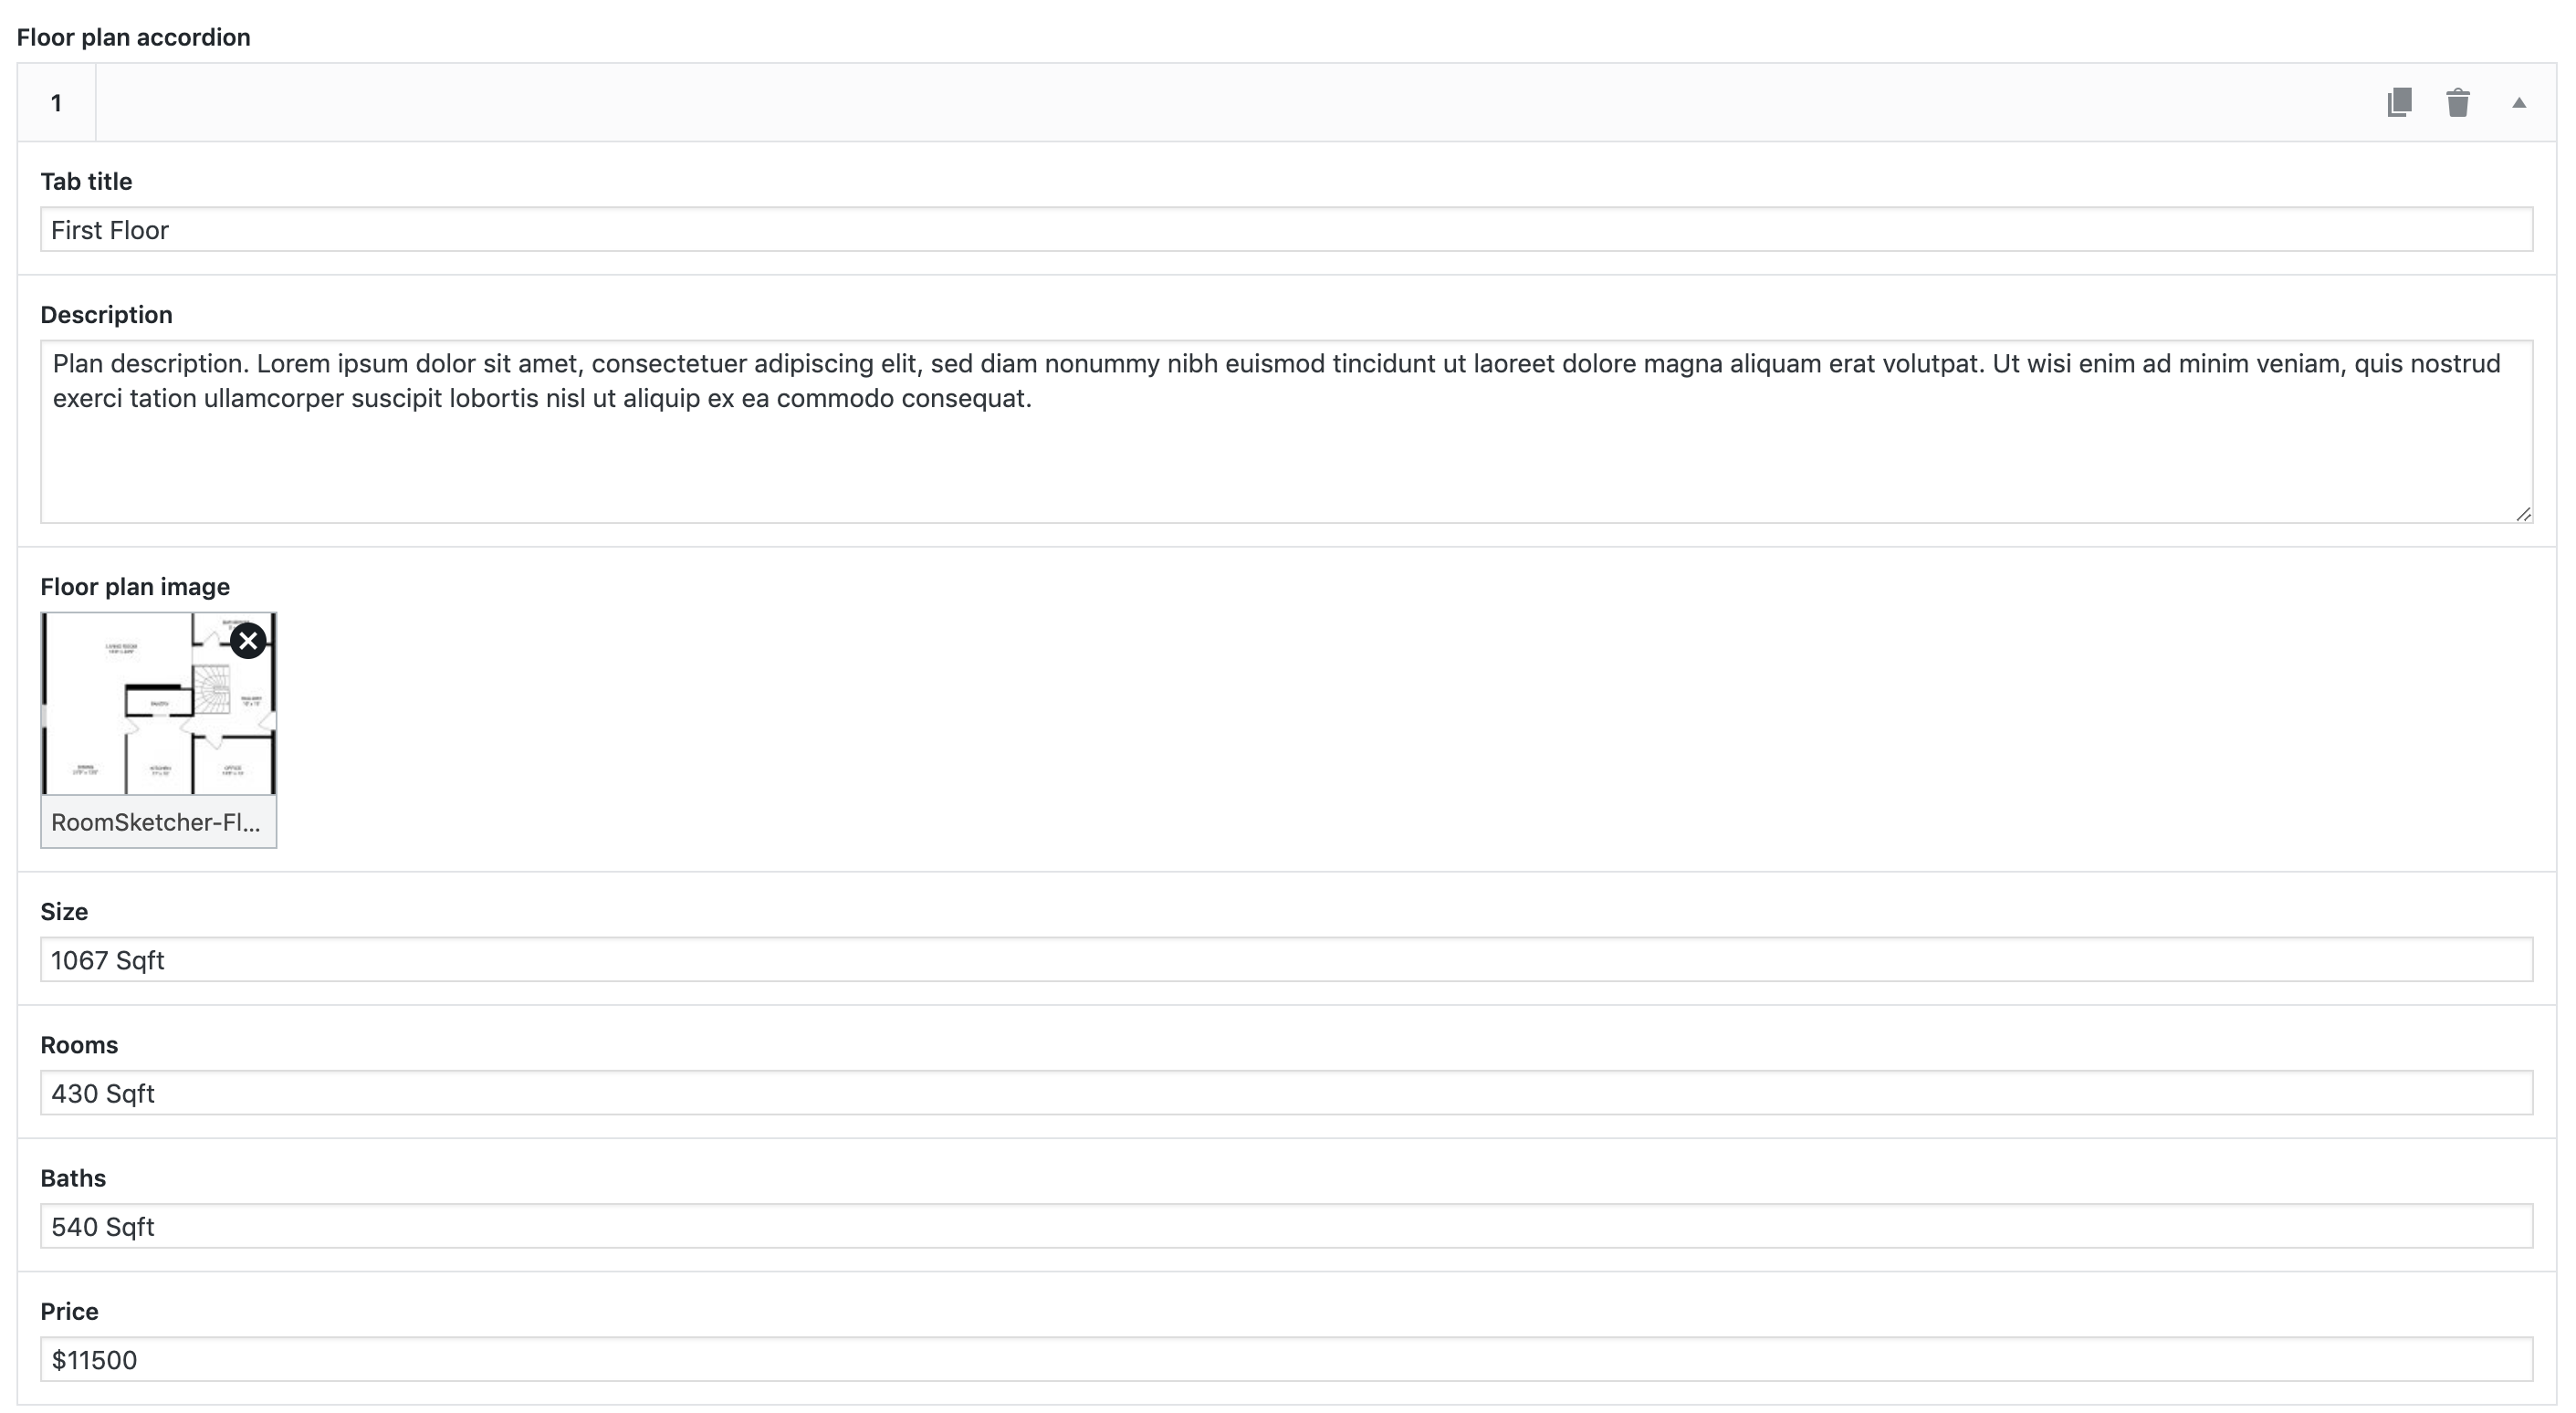
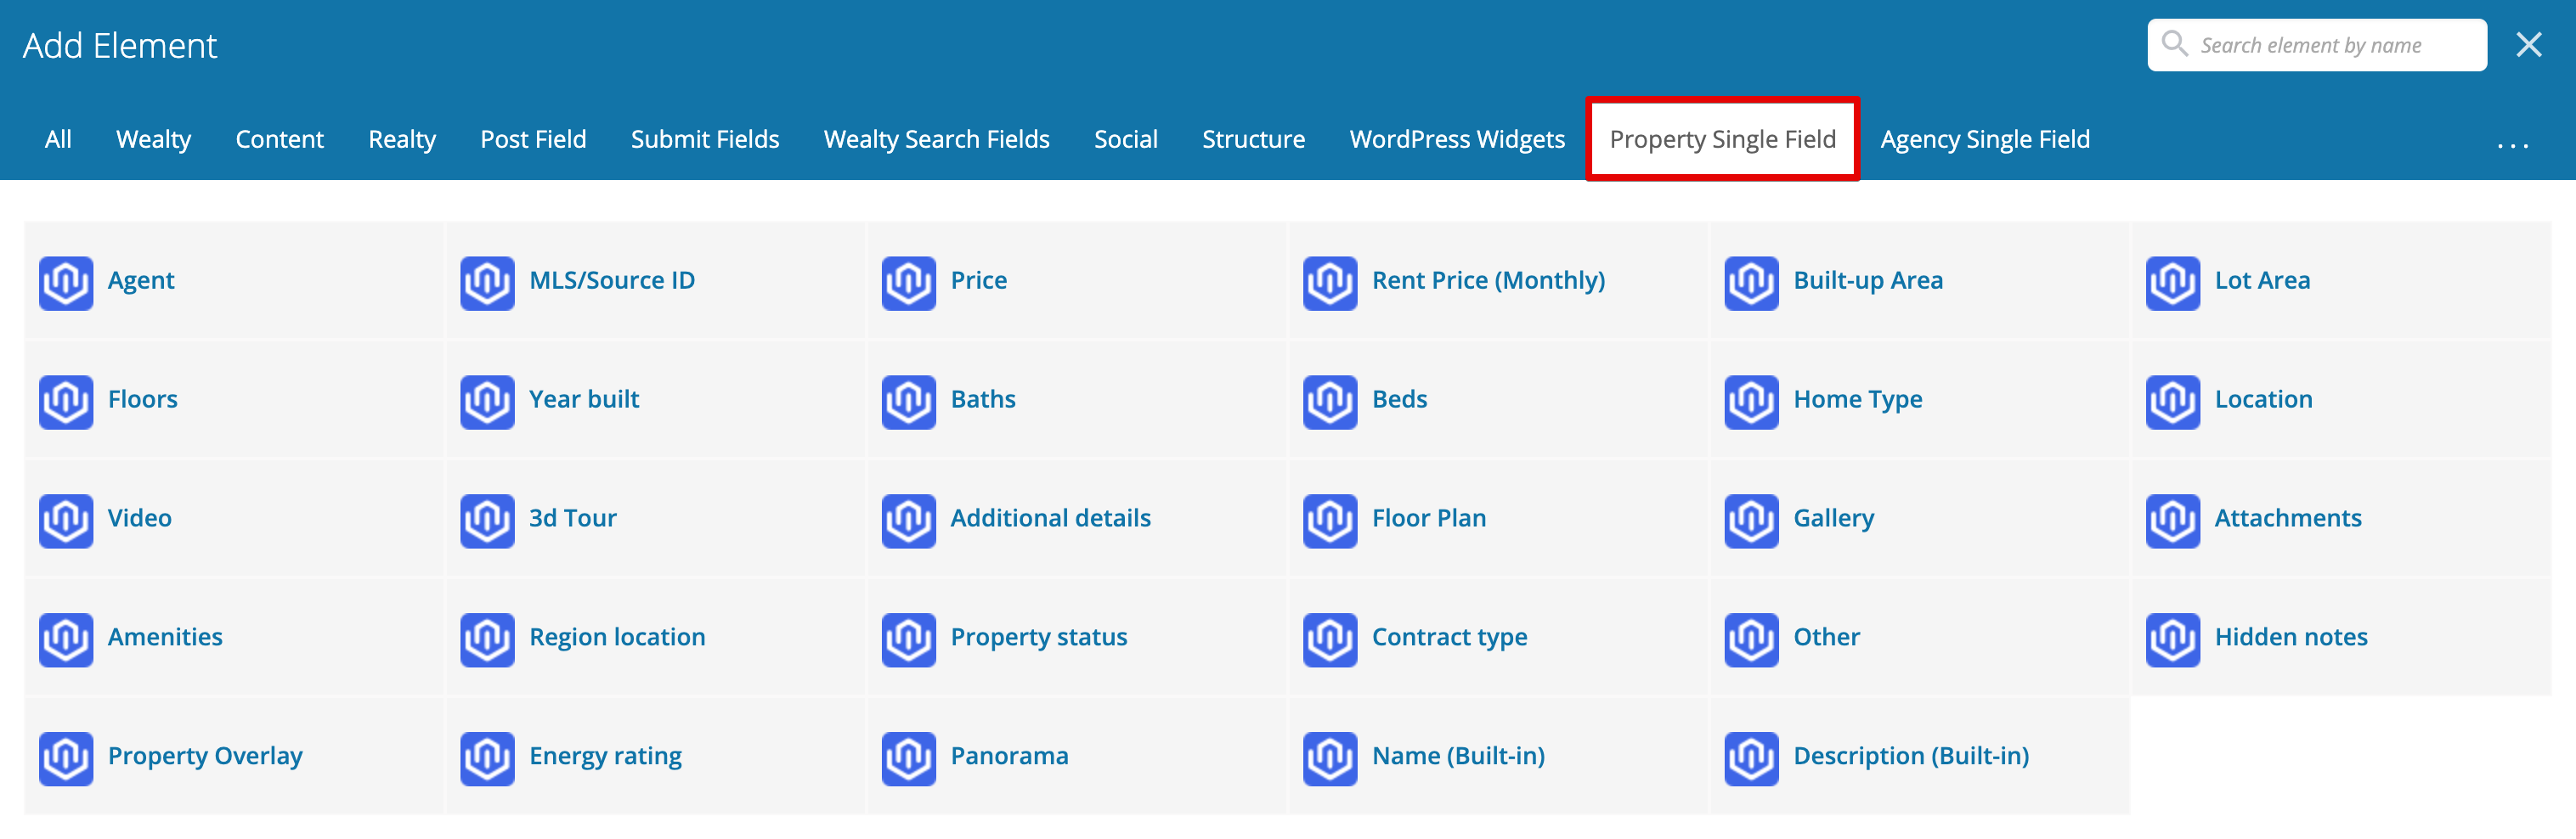
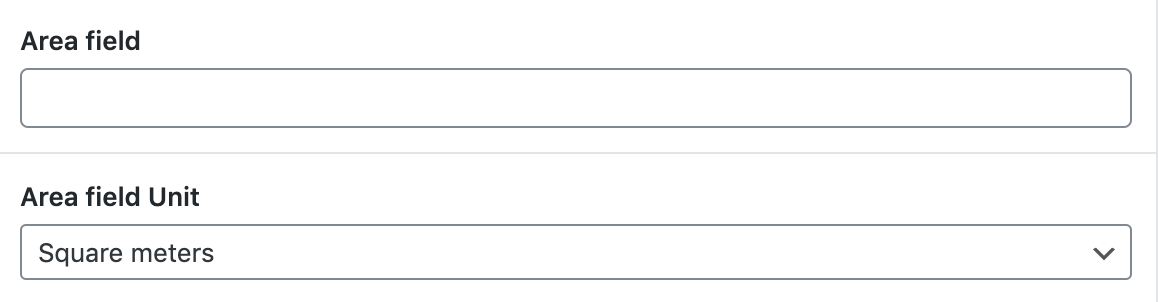
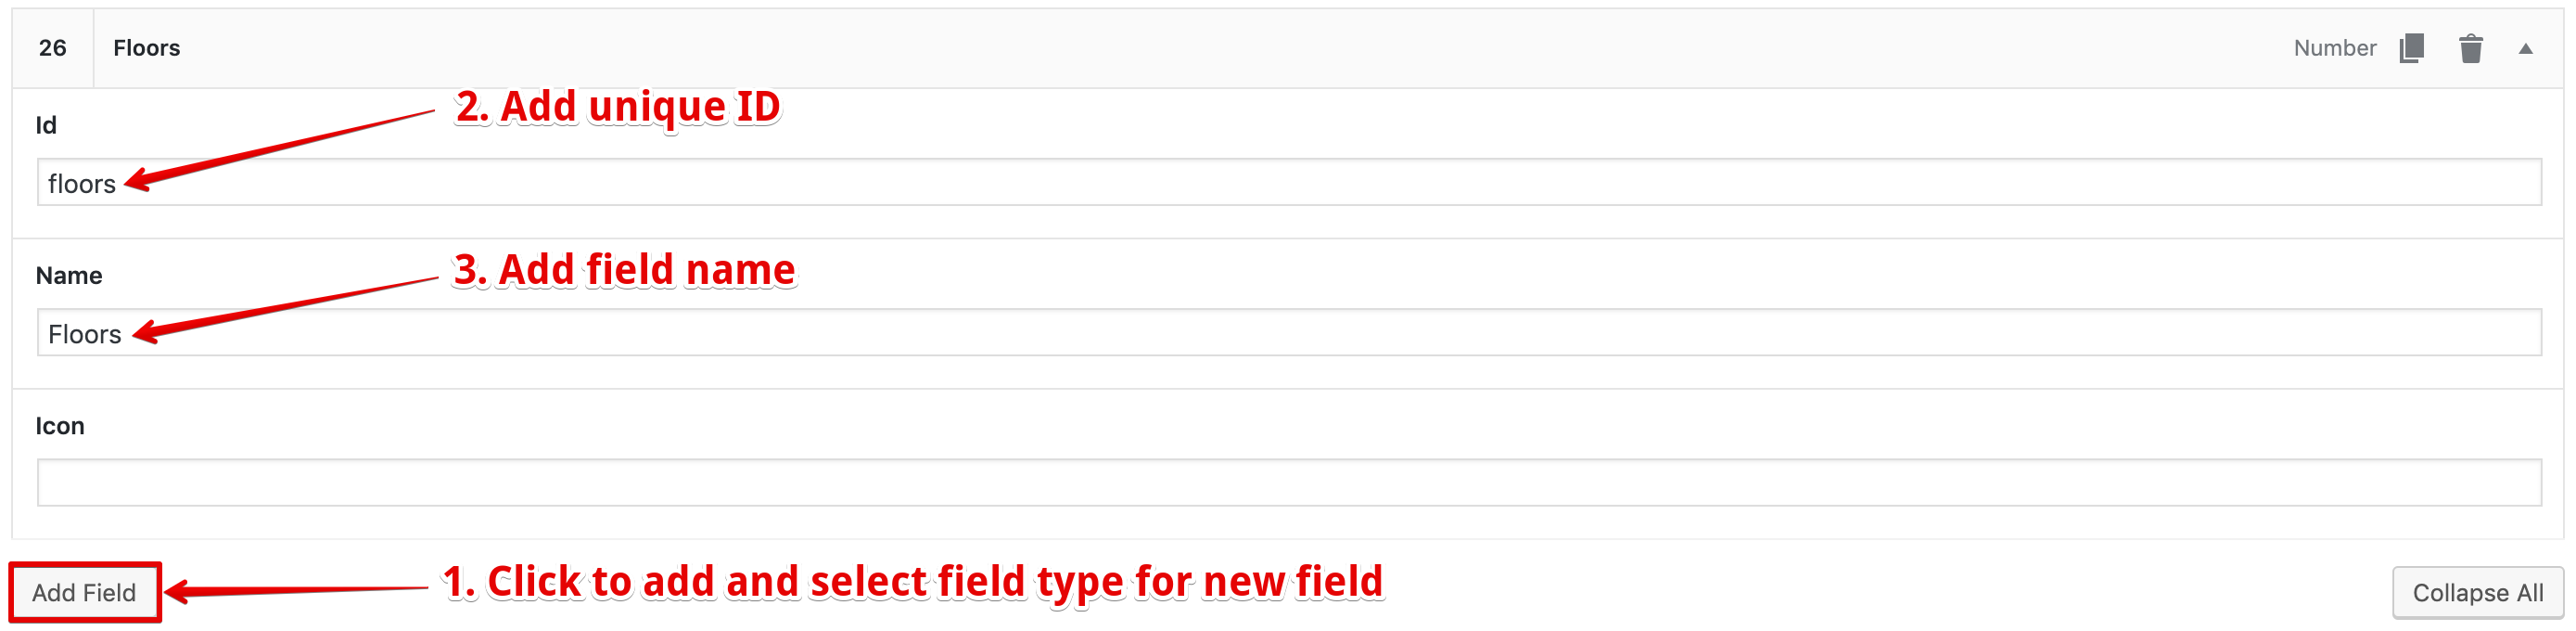
To add new field click the "Add Entry" button and select what field type you need. You can add any field type you may ever need: text, number, media, etc..

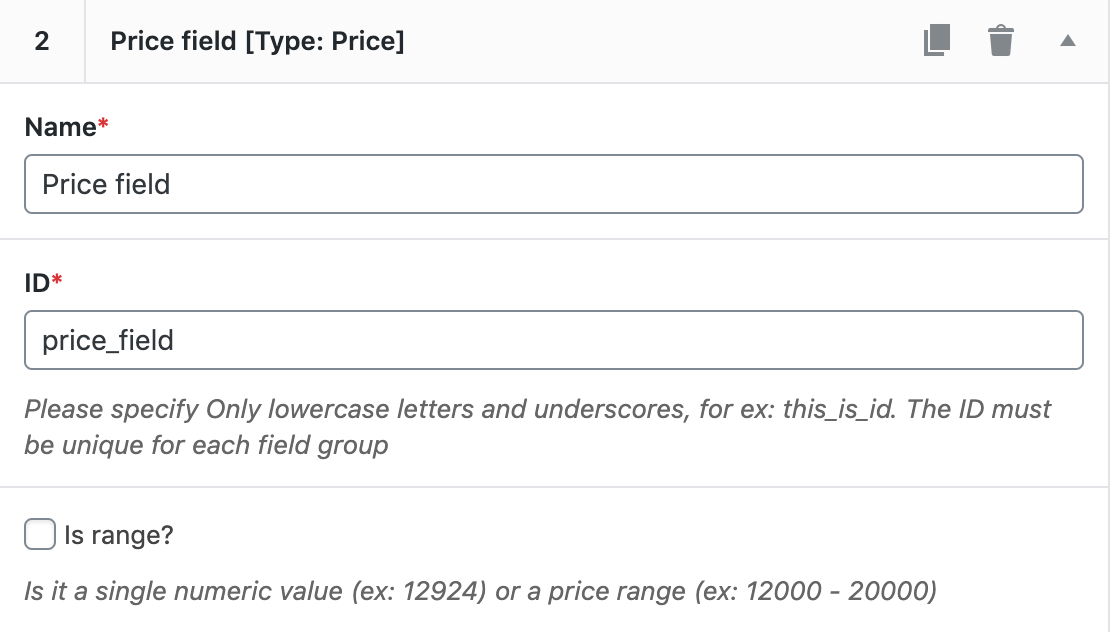
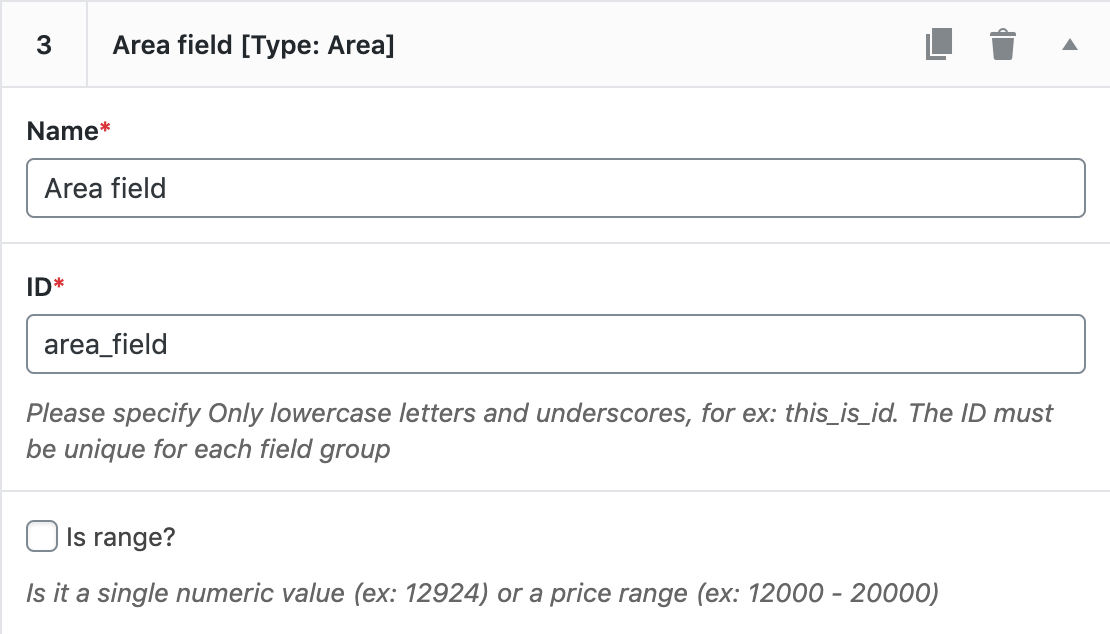
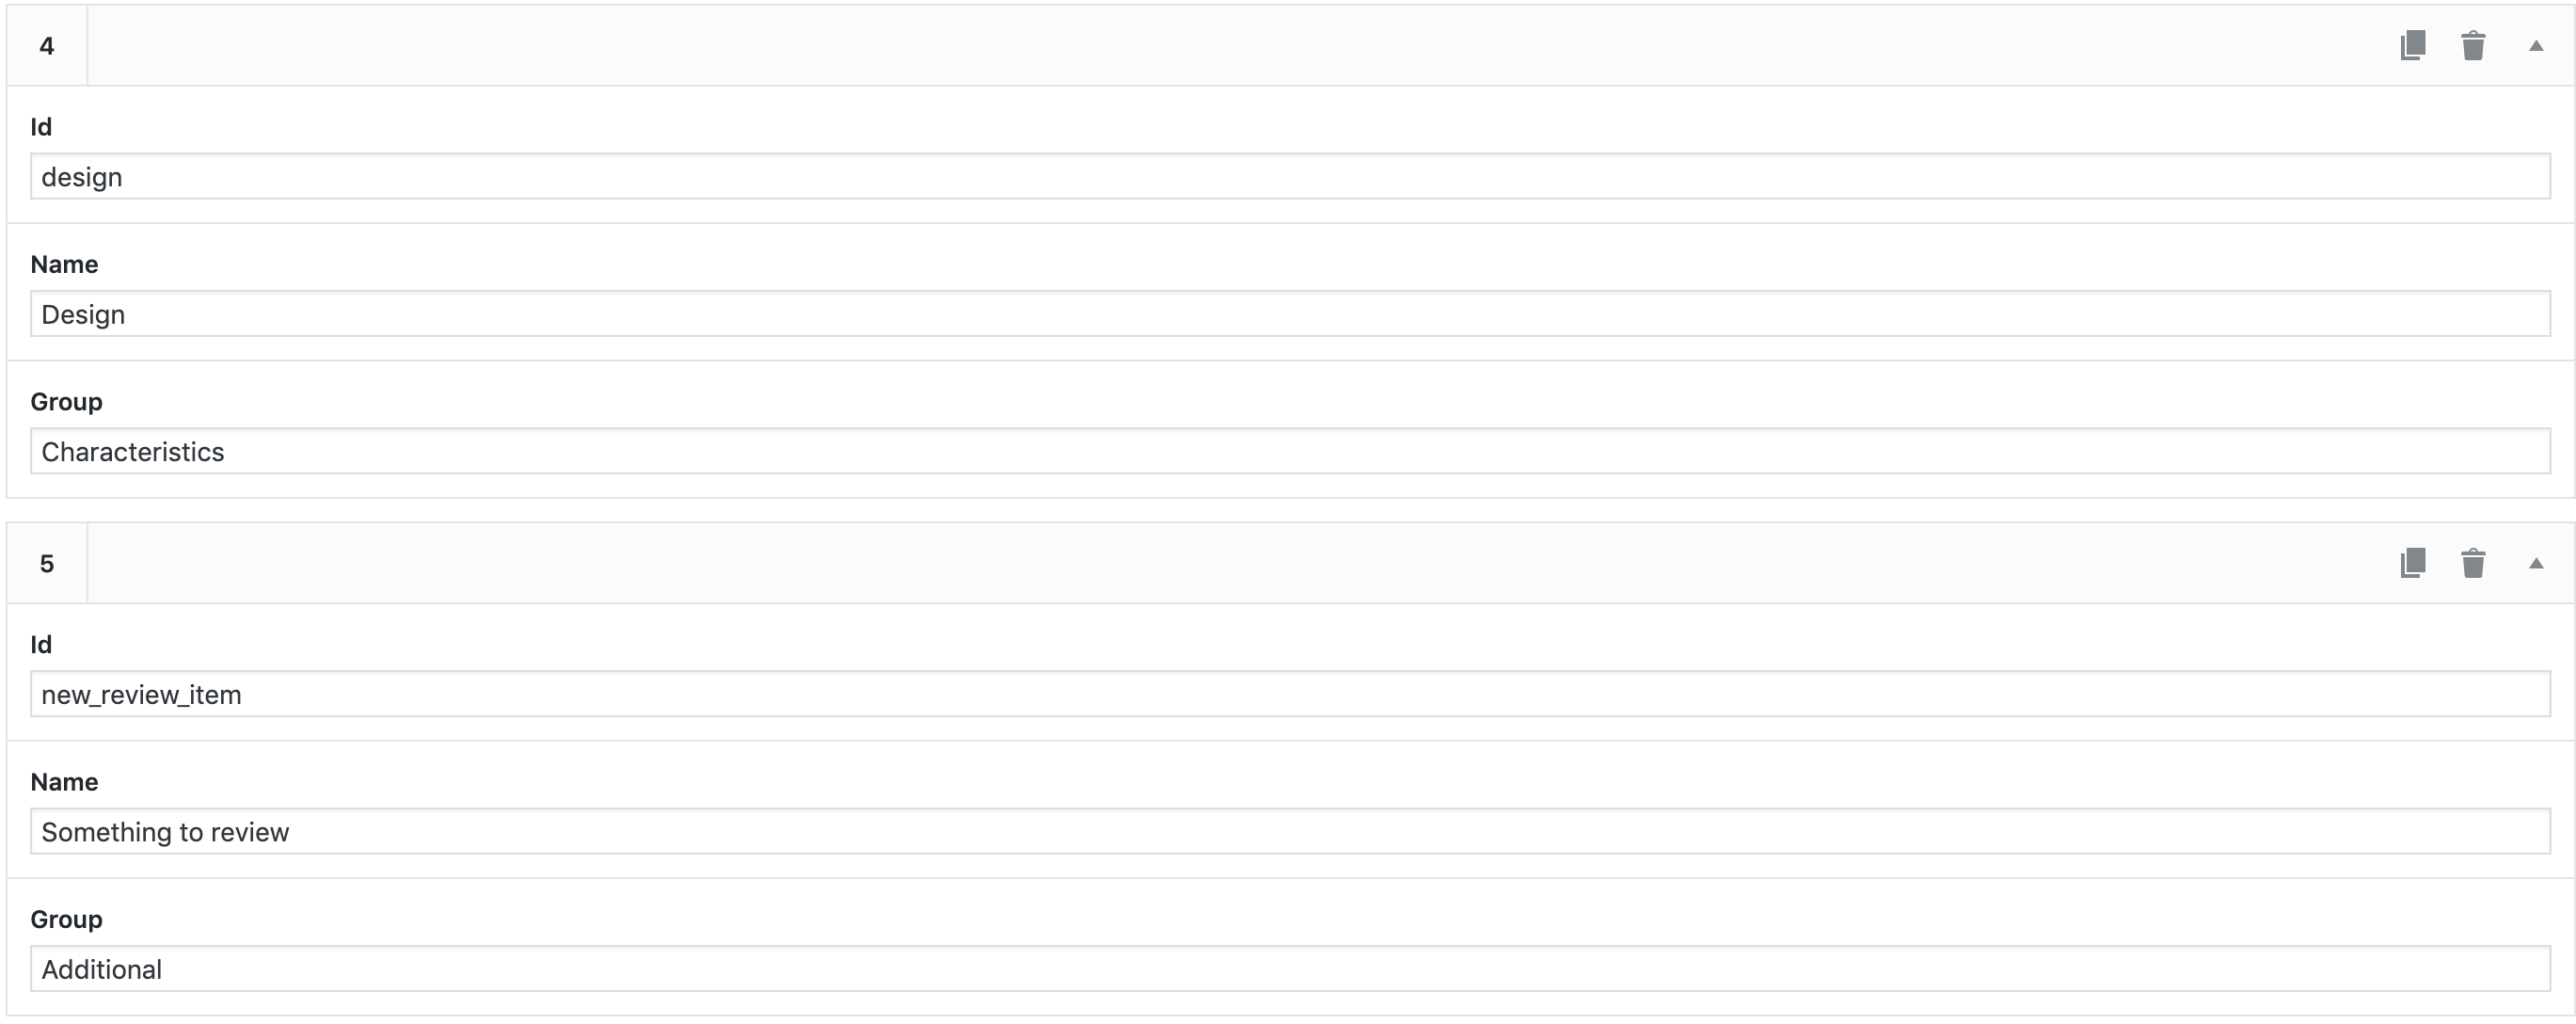
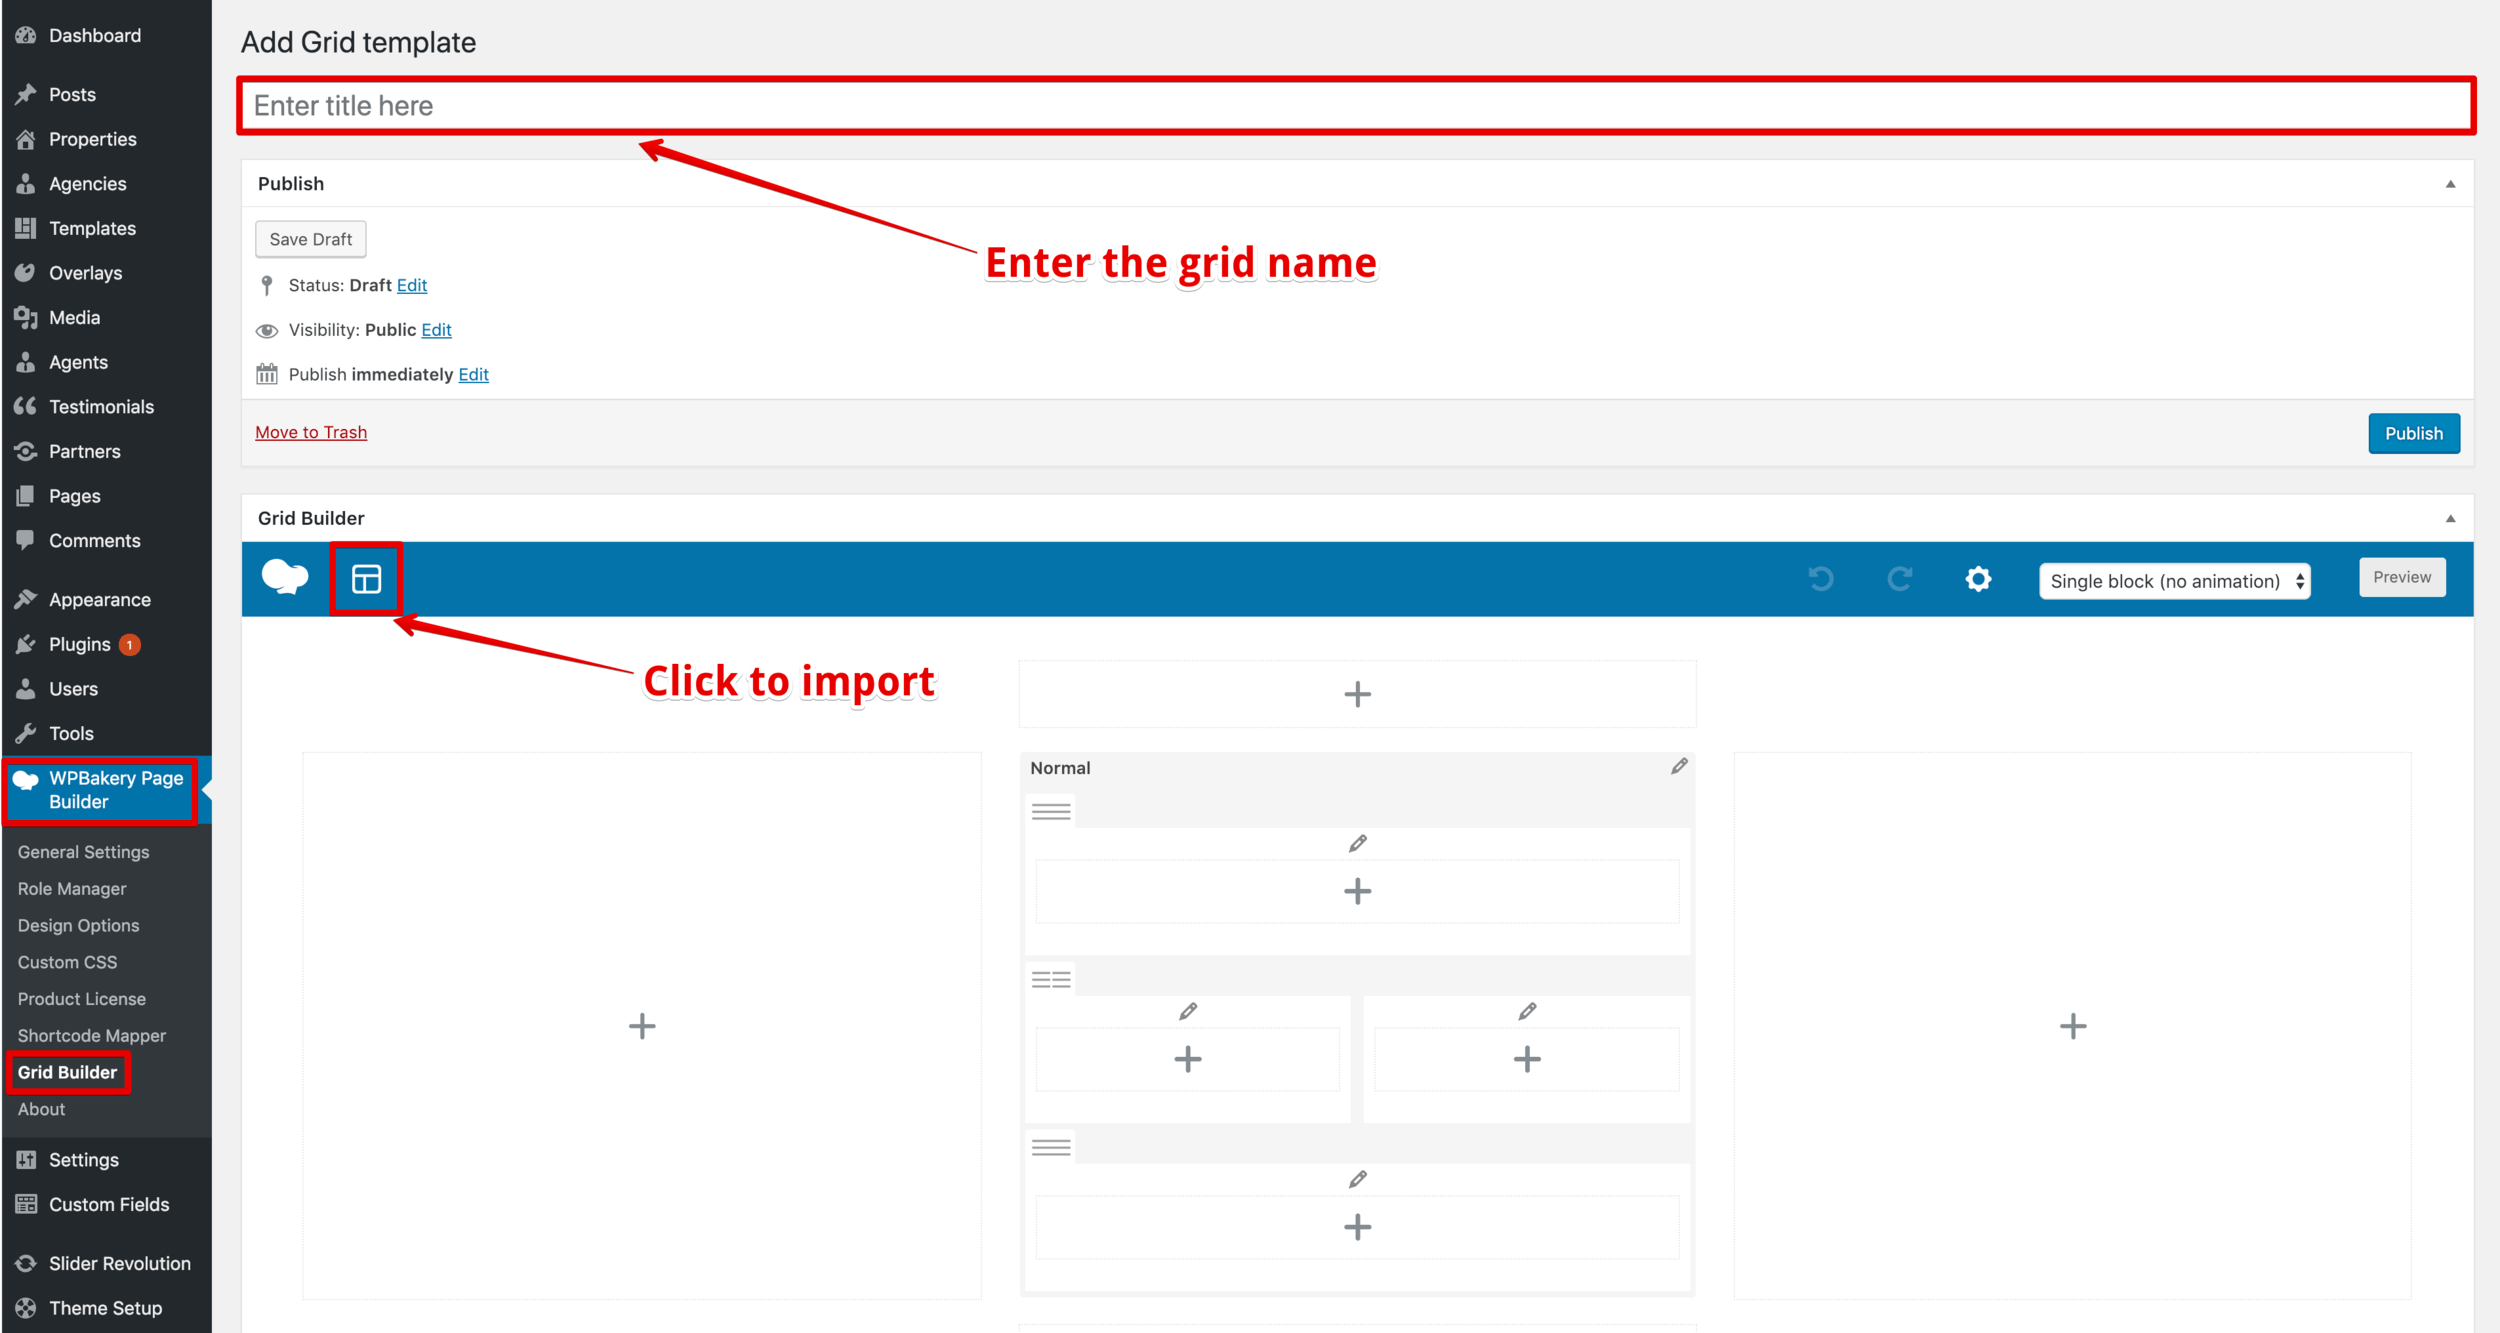
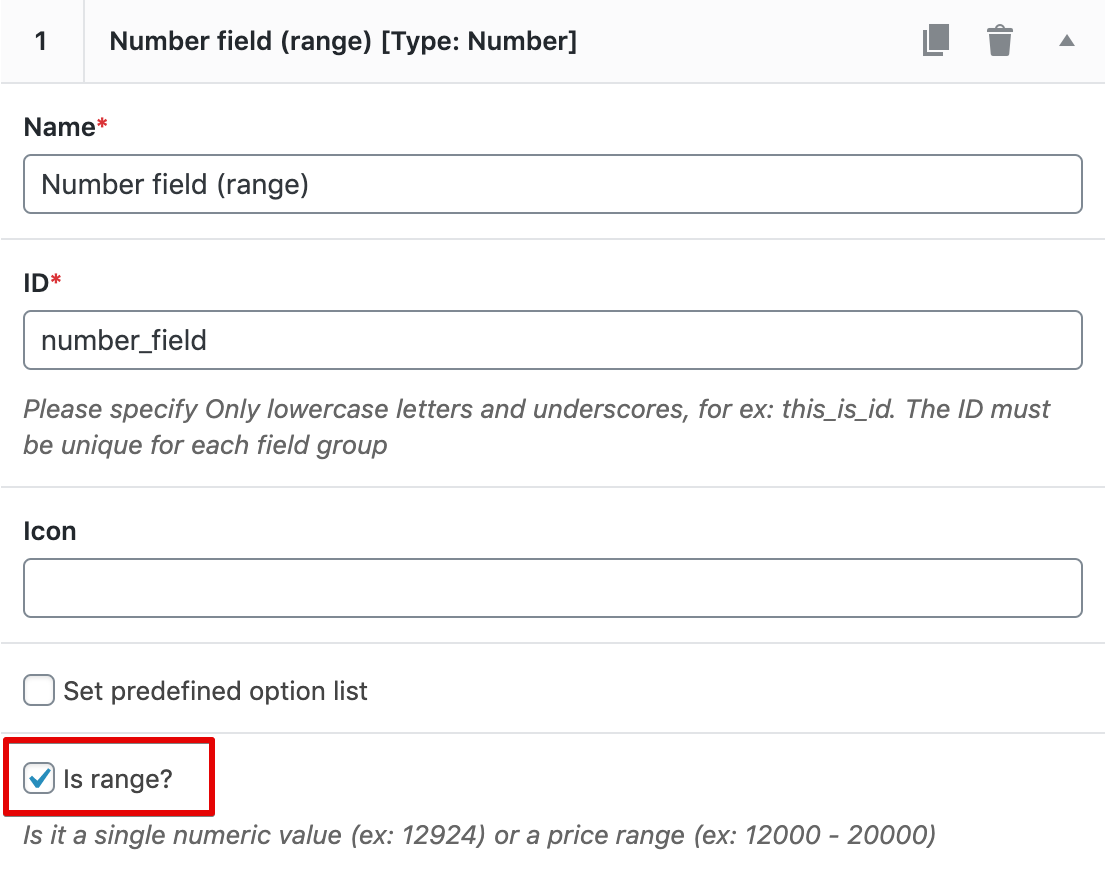
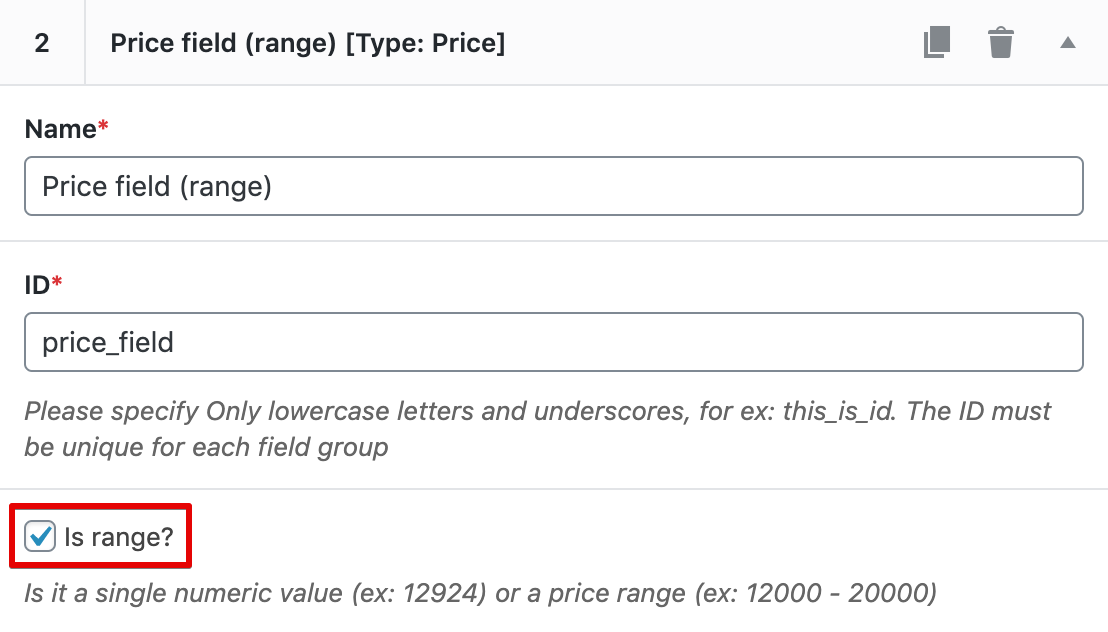
Every field must have name and unique ID (Screenshot ).

When field ID and name will be added, Drag & Drop to change the field display order on edit page. It is optional. Basically, fields order matches the one in the "Field config" section.

Step 2: Displaying field on the page

Now we'll display newly created field on property details page. First of all edit a property and add the number of floors.

To show the new field we need to edit the template used for property details page.
There are a few ways to see what template was used there:

  • In Wealty Options > Default templates > Property single .
  • Open a property and hover Edit layout on black toolbar.
  • For each property template can be overridden. If it was the case, then on "Edit property" page in right sidebar in "Property Attributes" section you can see what template was used.

In our case for property details page was used "Property single" template.

As we want to show field on property details page we have to add field from Property Single Field tab in WPBakery Page Builder (Visual Composer).

After selecting field, will appear window with all settings for this field. In our case we want to show field field name: field value format, so we can match the "Details" section design.
Because of that we'll select the Key value design, where key is field name and value is field value.
Also we'll need to select "Inline" alignment for the title (field name) and for the content (field value) to show name and value in on row.

Let's save changes and open property page to see the result .

Step 3: Adding field to the search form

Let's add new field in search form on our Home page. To add "Floors" field in the search form, we need to edit form's template .

Each field can be displayed using in a lot of different ways: range slider, input, dropdown, etc. We'll use "number" type.

After adding field will appear field's settings window . Here we can set minimal and maximum value, change increment step, select field design, etc..

In WPBakery Page Builder we can change field display order in form.

Now feel free to save changes and open page to see new field in search form.

Step 4: Adding field to a grid

To show how customizable Wealty theme is, let's show our field in "Featured Listings" section on Home page. For example, we'll replace "Baths" with "Floors" field. In this case we need to edit grid used in "Featured Listings" section. This grid we can find in partial used for Home page.

First of all we need to create new grid. We'll use grid in "Featured Listings" section and will edit it to add "Floors" field.
To create new field go WPBakery Page Builder > Grid Builder > Add new. Click on "Templates" button to open list of all predefined Wealty grids.

Using search tool find "Property grid" and click on it. Grid was imported. Name this grid how you like and now remove "Baths" field and add "Floors" field.
When adding new field to grid, we need to select field from "Property Single Field" tab . This way Page Builder recognizes that is added a property field and not agent or agency field.
When everything was done, save changes.

Now go back to the partial and select newly created grid from dropdown menu in "Wealty Grid" shortcode .
Also we need to set unique ID for newly created grid, save changes and open Home page to see the result.

Fields Configuration Video